Part 1: Adjusting Spam Levels in the Eclipse Portal (Control Panel)
This method affects all email accounts on the selected domain.
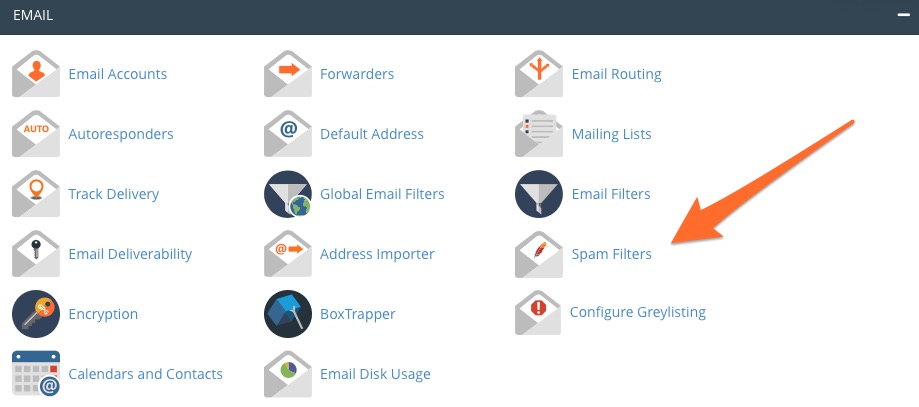
Accessing Spam Filters
Step 1: Log in to the Eclipse Portal
-
Open your browser and log in to the Eclipse Portal.
-
You will arrive at the main dashboard.
Step 2: Open Spam Filters
-
Scroll to the Email section.
-
Click Spam Filters.
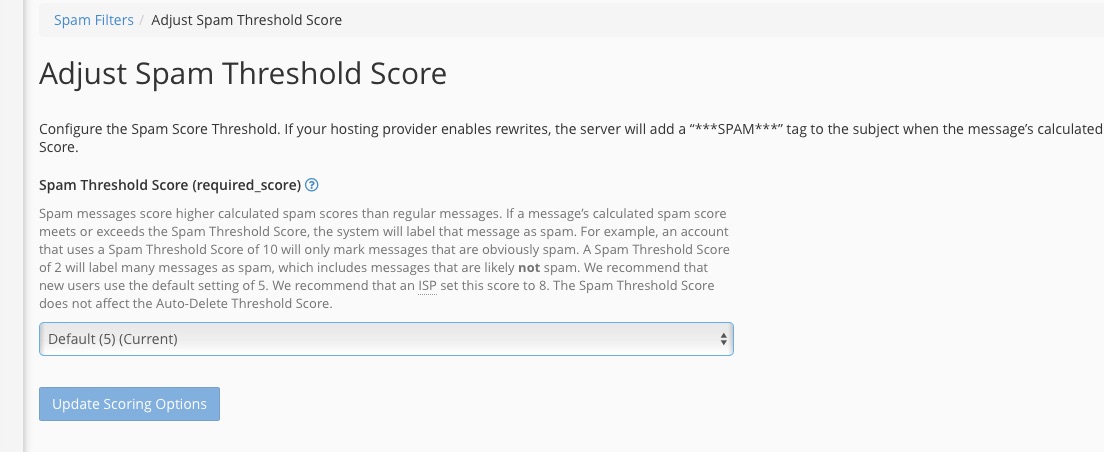
Adjusting the Spam Threshold Score
Step 3: Understand Spam Sensitivity Levels
Spam filtering uses a scoring system:
-
Lower score = more aggressive filtering
-
Higher score = more emails allowed through
Typical examples:
-
5 → Very strict (may catch real emails)
-
7–8 → Balanced (recommended)
-
10+ → Relaxed (allows more emails)
Step 4: Change the Spam Threshold
-
Find the Spam Threshold Score slider or input box.
-
Adjust the value to your preferred level.
-
Click Update Settings or Save.
Additional Spam Filter Options (Optional)
Automatically Delete Spam
-
Enable this option to permanently remove spam instead of delivering it.
-
Recommended only if spam filtering is well tuned.
Spam Box (Recommended)
-
Keeps spam emails in a separate Spam folder.
-
Allows users to recover legitimate emails if needed.
Whitelist & Blacklist
-
Whitelist: Always allow emails from trusted addresses or domains.
-
Blacklist: Always block unwanted senders.
Part 2: Adjusting Spam Levels in Webmail (Per Email User)
Step 1: Log in to Webmail
- Log in using your full email address and password.
-
Open your preferred webmail client (e.g. Roundcube).
Managing Spam in Webmail
Step 2: Locate the Spam Folder
-
Click on the Spam or Junk folder in the left-hand menu.
-
Review emails regularly to ensure no legitimate messages are missed.
Step 3: Mark Emails as Spam or Not Spam
-
Select an email.
-
Click Mark as Spam or Mark as Not Spam.
This helps the system learn which emails you trust.
Whitelisting and Blacklisting in Webmail
Step 4: Adjust Filters or Preferences
Depending on the webmail interface:
-
Open Settings
-
Go to Filters or Spam Settings
-
Add:
-
Trusted senders to the Whitelist
-
Unwanted senders to the Blacklist
-
Best Practice Recommendations
✔ Set the Eclipse Portal spam score between 7 and 8
✔ Enable the Spam folder instead of auto-delete
✔ Review spam weekly
✔ Whitelist important contacts (banks, suppliers, clients)
✔ Avoid clicking links in suspicious emails
Summary: Which Should I Use?
| Method | Best For |
|---|---|
| Eclipse Portal Spam Filters | Admin or domain-wide control |
| Webmail Spam Settings | Individual user preferences |